In Part 1, I have presented the recording, mixing and bouncing capabilities of the Boss Micro-BR recorder. I would like to present now the mastering and instrument practice features of this little shiny machine. We will also see how we can export our masterpieces but also how we can import material.
Recording Addendum
In my precedent piece, I forgot to mention the punch-in/punch-out functionality, shame on me! So please know that the Micro-BR will allow you to define a hands-free way to record between two points in time. So if you have recorded a 20 minute guitar solo, as we all do, but you are not satisfied with a 10 second bit right in the middle, you can record over this bit very easily, just tell the Micro-BR where to start and when to stop recording.
Mastering
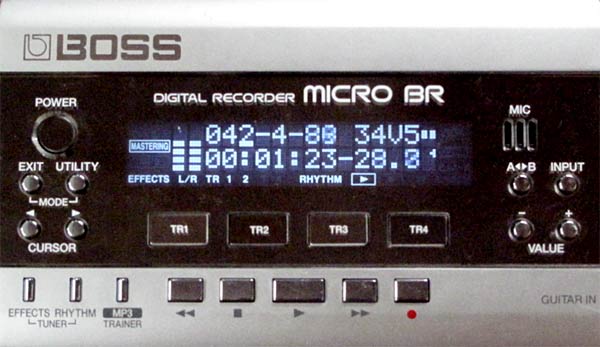
The Micro-BR has a mode dedicated to mastering. This mode embodies the “final phase” of music production. It allows you to work on the sound (and loudness) of the final mix. It uses the built-in multi-effect unit to process the final mix. The following stages are available : input gain, compressor, equalizer, limiter and output gain. The compressor is three band (which is pretty awesome for a machine like this). You can chose the band frequencies through the input gain stage which is a bit counter intuitive. You can set different ratios, threshold and attack/release times for bass, mids and trebles. The equalizer has also three bands and can boost by 6db or reduce by 80 (!).
The limiter has a threshold and attack/release settings, it will ensure you are not distorting the output. The input gain will boost the signal before it is compressed/equalized/limited while the output gain will boost it afterwords. All in all, this makes out for pretty drastic changes. I find it especially useful to reach an acceptable level of volume. Now of course your version of acceptable might not be mine 😉 You can record the results of this mastering phase onto virtual tracks (see Part 1 ) and the Micro-BR will then ask you if you want to produce an MP3 file (128 Kbps or 192 Kbps) or a Wave file of the recording. After some processing time, the file is available for you to copy using the USB port integrated to the Micro-BR to connect to your favorite computer. And voila.
Here is a mix BEFORE mastering:
And now AFTER mastering, I have put some compression, reduced the mids a bit and moderately increased the overall volume:
You can click on the “play” button of these two players alternatively to check out the difference.
Note that mastering is pretty much an art and it will take a lot of trials and errors before you will get it right.
MP3 Trainer
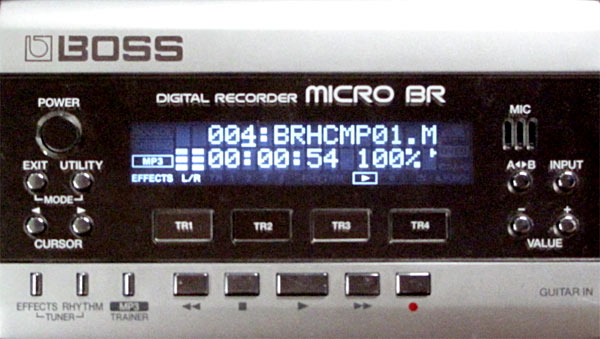
A quite important feature of the Micro-BR is the MP3 trainer functionality. Via the USB port I mentioned earlier, it is possible to copy MP3 files onto the recorder to use them to jam along. The Micro-BR is picky in terms of format and I find that only 128Kbps MP3s will work without flaws. If you are working on a piece that is particularly fast, you can slow it down without altering the pitch (awesome to learn scorching guitar solos). As always with time-stretching technology, the more you steer away from the original speed, the “funnier” the song is going to sound but it is very useful nonetheless. You can also “cancel the center” of the song you are jamming along with which will remove part (or all) of the main vocals or the main lead instruments. This is based on the fact that these are often mixed in the center of the stereo spectrum.

Importing/Exporting
We have seen earlier how it is possible in mastering mode to export a whole mix in Wave or MP3 format. It is also possible to export a single track to an MP3 or Wave file. It is conversely possible to import a Wave file or an MP3 file into a track. Just use the USB connection to your computer to copy files to the MP3 folder of the Micro-BR and they will be available for importing. When you import you can decide where the imported sample will be inserted exactly.
Read the manual and use the tuner
The Micro-BR packs a lot of functionality in a little package and they are all well described in the manual so be sure to read it (not like me).Moreover there is a quite active online community around the Micro-BR on bossbr.net (check out the forums). And this post would not be complete without mentioning the excellent integrated chromatic tuner, there is no excuse to be out of tune when you record anymore!
Conclusion and wishlist for version 2
I must say that after two years of constant use I am quite impressed with the Micro-BR, it does quite a lot for a reasonable price and is an awesome companion to any musician really. There is a number of things that I would love to see should a version two come to the market: faster loading time, the tempo bug mentioned in part 1 solved, a normal size jack for the line/external mic input, a “per track” mute/solo function, the ability to export all tracks to seperate files at once and a pitch shifter/octaver. I will pray to the Boss gods for all this to happen.


Hey there!
I’m starting to get familiar with this recorder, I found it awesome! I’m having a little bit of a hard time making drum patterns though: all that #measures, arrangements and stuff. I’m a little bit of the “programming challenged” guy, any tips?
Thanx!
There is no really quick way to get a hang of the rhythm section. I really advise you to download the latest version of the manual on the roland website. Section 4, entitled “Using Rhythm” is quite well done and even if looks daunting at first and nobody likes reading the manual (well I don’t), this one section explains everything step by step. And I stress “step by step” as you might be tempted to skip some but I found that by following each step slowly, I got a better understanding of the machine.
The Micro-BR has its own logic and it takes a little while to get used to but don’t fear to try lots of different things, it will become clearer very quickly.
Ive owned the Micro BR for a year now, and i still can’t find a good old school early 90s Death Metal tone, I know that it could be impossible but any one know any good Metal settings for the BR? thank you!
You mean an Obituary type of tone?
Hey thanks for all the info this was an eye opener its guys like you that help people like me with decision making so I really appreciate what you have done here for those interested someone has posted a whole tutorial on youtube on how to use all the functions on the BR,on another note I was reading a review on the Micro BR-80 one person said he didn’t like the new as much as the first one.
I’m glad I was able to find one that is brand new to order.
The MP3 setting doesn’t allow reverb. How can I get round that without having to record in the bathroom?
you can always import the MP3 into 2 tracks of a song and then you can use any effect you want.
I’m a bit technologically challenged, can anyone tell me how to hook the micro BR to an amp & hear rhe rhythm patterns through the amp speaker, please. I feel stupid but this recorder is a little trickier than I predicted. Thanx!