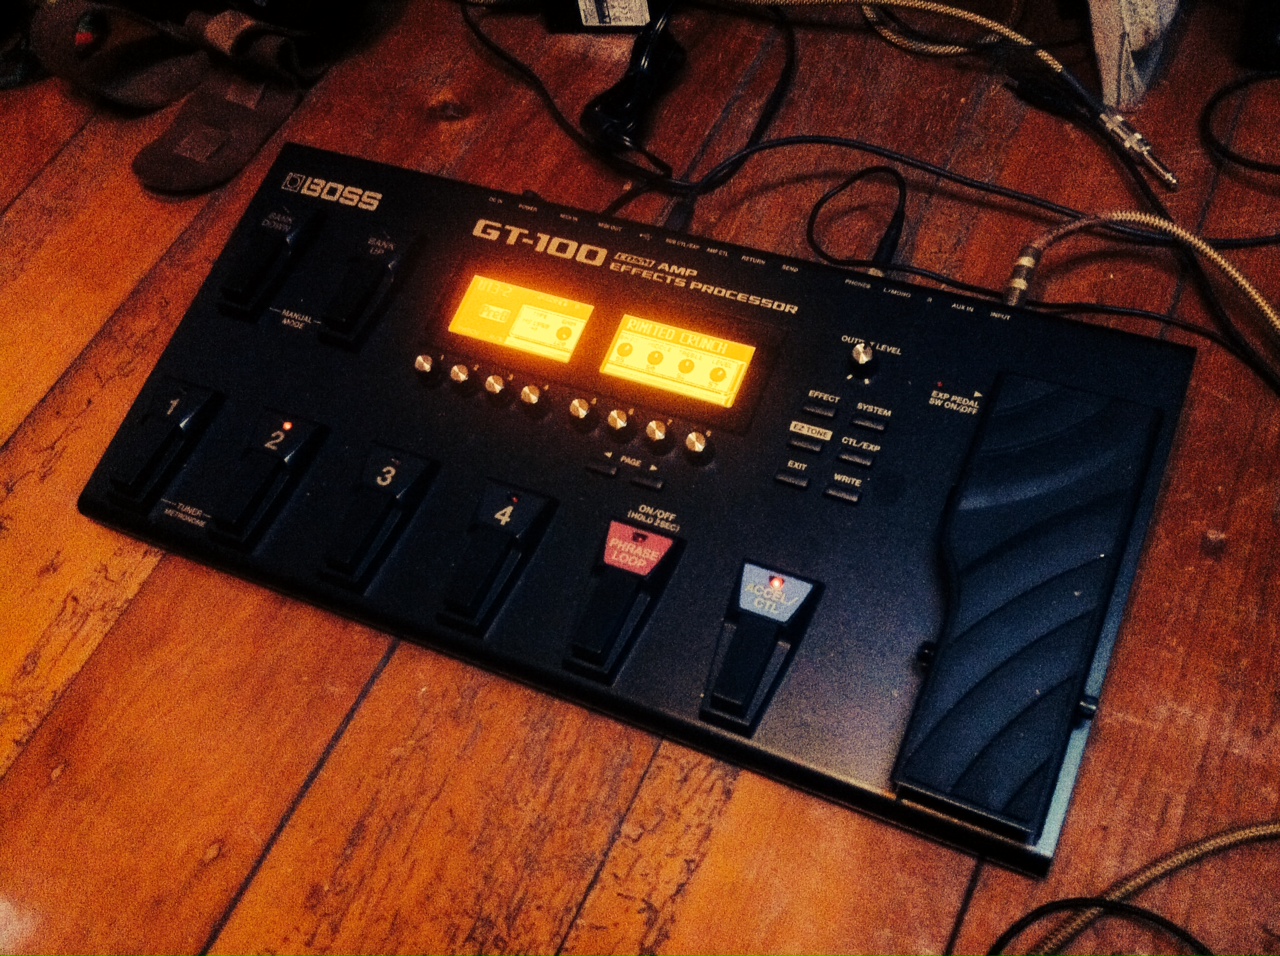
The GT-100, flagship of the Boss line of multi-effect units, has been around for about two years. It benefited recently from a software upgrade, dubbed V2 which introduces new capacities and effects .
Instead of writing a catalogue of
all the features offered by the GT-100 v2, I thought I would go with a more personal approach of my experience with the unit, and a little video of my favourite tones and effects.
Upgrade Procedure
First off all, I was lent a V1 version of the unit by Roland Australia and I performed the upgrade as per instructions. You need a USB cable and a Windows or Mac computer after which it is pretty easy. The upgrade itself takes less than a minute.
This video from Dawsons music in the UK explains it all. Alternatively,
This blog entry from Roland Australia has all the info, including all the new V2 features.
Before upgrading the unit, I spent some time with the V1 version to get a feel of the changes. Well the good news is that the V2 version is the same, but better, I could find no regression per se (which can happen sometimes!)
A virtual rig
The GT-100 v2 is a virtual guitar rig: it takes your guitar signal and runs it through virtual amps, virtual effects and virtual speakers. A lot of classic pedals are simulated both from Boss and from other manufacturers. For instance, in the distortion/overdrive department, you find the OD-1, the Blues Driver but also the Big Muff, the RAT, the Marshall Guv’nor, etc. Same goes for compressors, Boss compressors are in there but also the Dynacomp, the Orange Squeezer, etc. And the v2 software adds MDP effects such as Tera Echo, Adaptive Distortion and Overtone, all available in separate pedals. I personally love the Tera echo (see the video below).
Something that I found really cool was the fact that the effect order can be changed. You want to put a delay before the amp simulation, no problem! There is also a mono effect loop to put your favourite pedals in and make them become an integral part of the signal path. Finally, another great feature: there are two amps (A and B) in one given “virtual rig” so you can go from one amp to another by pressing the “accel” footswitch.
Building my direct recording dream rig
The way I approached the GT-100 v2, given the fact that it is like having the best amps and pedals in a box, was to build my “dream rig” so to speak. I used the GT-100 v2 direct (more on uses with an amp later).
Let’s start with amps, the Bassman is the grandfather of all amps and it was my choice for Amplifier A. On a side note, it was used by Hendrix a lot in the studio, Voodoo Chile is the perfect example of the kind of big creamy tone you get out of an old Fender amp. The Bassman simulation in the GT-100 v2 did not disappoint me, it’s very responsive to touch as well as the guitar volume, like a good cranked amp (by the way, if you can crank a Bassman when you practice, you are a pretty lucky chap) . The GT-100 v2 has several EQ sections (at amp level, as an effect and globally) which allows to tailor the tone to your guitar. I found the global EQ most useful when going from my Strat which is quite bright to my SG which is darker. Same goes for the reverb, there is “global” setting so you can adapt to any venue without reprogramming all your patches.
Second amp I chose: the good old Marshall Plexi, classic amongst the classic loud rock amps. I chose the mixed inputs (I+II) version of the simulation and I found the results quite Malmsteen-esque given that the level of gain goes further than on the real amp, a nice touch. I also put a slight overdrive in front of both amps.
Finally, I like my guitar tone to have a bit of a studio quality, so I put a slight chorus, a discrete delay and a good dose of plate reverb and, voilà, I suddenly have two vintage cranked amp and some studio quality effects going straight to my computer. By pressing on the “accel” footswitch, I can go between the two amps, Bassman for blues tone, Plexi for big rock tone. By pressing the end of the expression pedal, I have a nice Wah to complement the amps, the ultimate rock rig in my opinion.
Of course, this is one example of how you would adapt the GT 100 to your style and taste, there are many amps and many effects to choose from.
Boss Tone Central
Customizing patches from scratch on a machine as complex as the GT 100 can be a daunting task. The built-in presets are pretty good and don’t yield to the temptation of being “over processed”, kudos to Boss for that. But if those presets leave you wanting, here comes
Boss Tome Central, one of the V2 feature for the GT 100.
Boss Tone Central is an online library of (free) patches. A software called “Boss Tone Studio”, available for Windows PCs and Macs from the website, can control the GT 100v2 through the USB connection and download presets from Boss Tone central directly into the unit, pretty cool.
Some big names such as Steve Lukather contribute patches to Boss Tone Central and presets are added on a weekly basis.
In the Studio
There has been some improvement on the Audio Interface for the GT-100 v2. Like the Desktop Version (the GT-001), the GT-100 v2 now presents 4 inputs to your computer. I have tried this with Cubase 7 and it works out of the box. The idea is that 2 inputs send the signal with effect and 2 inputs send the dry signal of the guitar in case you want to re-amp an already recorded track, using the GT 100 v2 or plugins.
And last but not least, a monophonic Guitar to MIDI converter has been added to the GT-100 v2, pretty cool to play a synth or bass part using your favourite virtual synth. As always, the tracking depend on a number of factor and it is not as good as using the Roland hexaphonic pickups and a unit like the GR-55 but great feature still.
Live
So far I have mentioned using the GT-100 v2 direct to a computer or to a console. Chances are some of you will want to use it to their favourite amp. I have given it a try with my trusty 1974 Fender Champ and although it requires some tweaking, this can sound pretty good.
I got some good results by turning off amp simulation and using the GT 100 v2 as a collection of pedals. The RAT simulation sounded particularly good though the Champ. I also had good fun with the Tera Echo and some reverb through the amp. Note that the GT 100 v2 has an output selection feature to adapt the EQ to small amps, combos or big stacks. Coupled with the various EQ features, this makes for a highly adaptable rig. Let’s not forget the expression pedal and the Accel footswitch which can control pretty much any parameter in the unit, perfect for those crazy Whammy moments.
Conclusion
The GT-100 v2 is an impressive piece of gear. Of course, the age old argument comparing real tube amps to simulation will never be put to rest. What I think is that the GT 100 v2 sounds really good and in situation where you can’t crank a Plexi or a Bassman to get your tone, this is definitely a good option. It’s useful in the studio as well as live where it can replace a collection of pedals. Amp simulations have come a long way since the 90s and the wizards at Boss have obviously been working hard. I have compared some of the simulations to the 2007 Micro-BR and the progress made is very palpable. If you don’t care for the switches, check out the GT-001 which is basically a GT-100v2 in table top format!